 Necronomicon Window Glyph
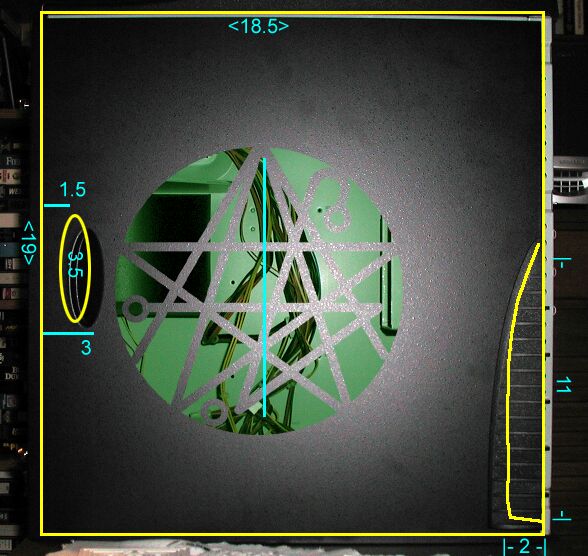
The Plan, done in PhotoShop Layers
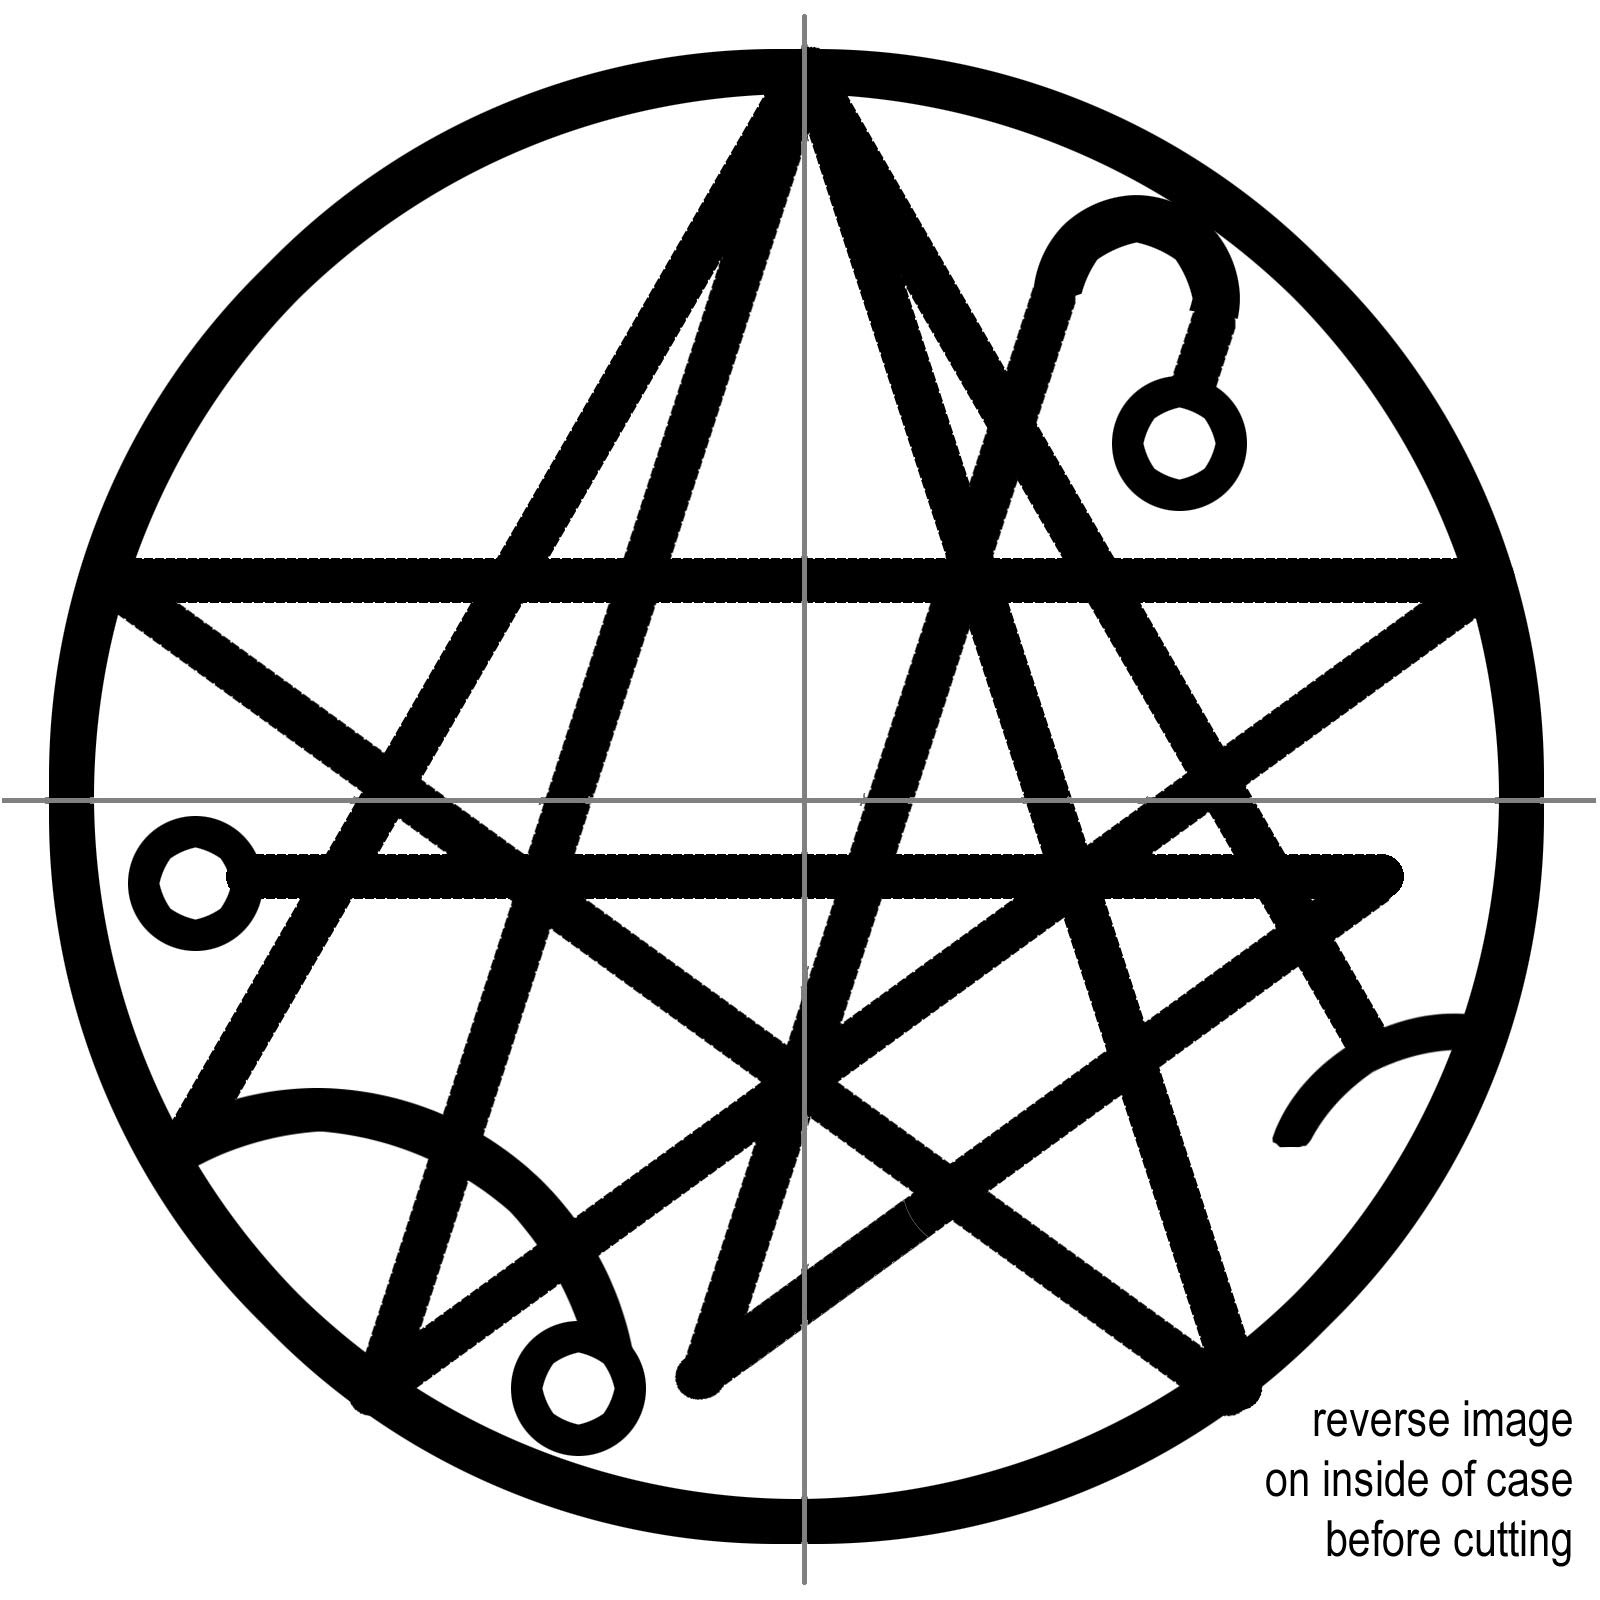
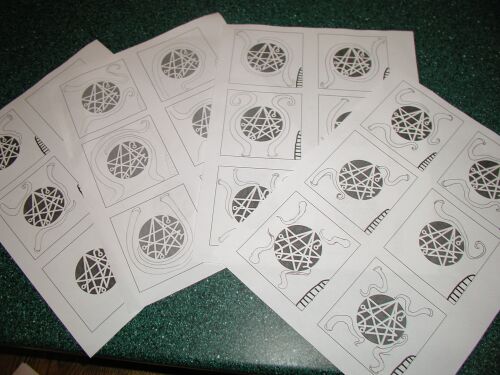
The template I used; click for actual size
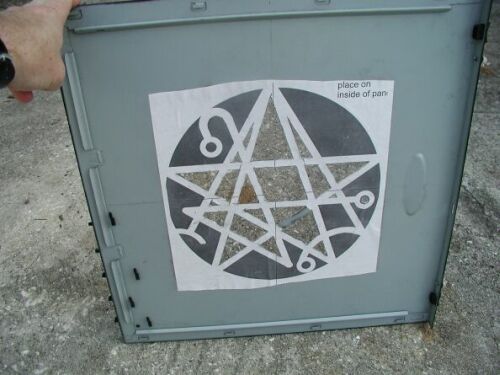
template glued to panel, some sections cut out
Other side at same point in the project
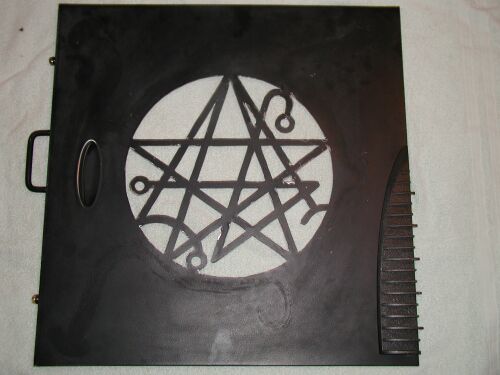
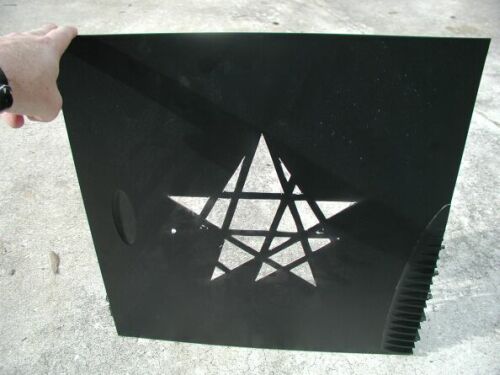
After all the sections were cut out
Brainstorming the Tentacle placement

Tentacles created and baked.

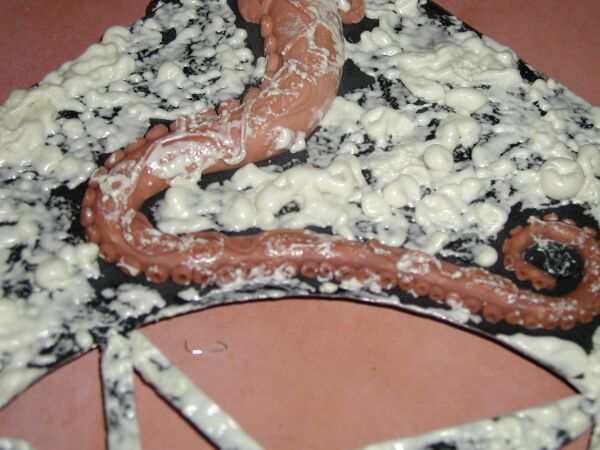
Closeup of tentacle

Adding the greatstuff foam
closeup of the texture
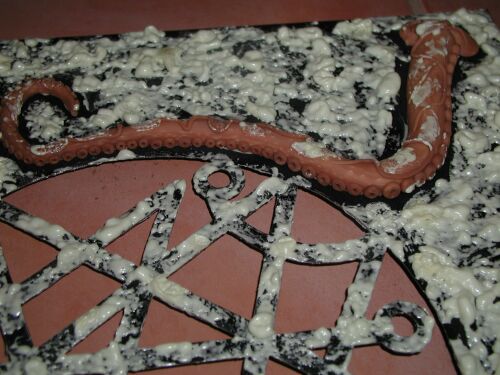
closeup of the texture
I wanted to create something impressive from a window point of view. With 33 different openings and about 114 cuts; this fit the bill. I made a template in Photoshop and glued it to the inside of the panel. Then I started cutting. Some are big enough for a jigsaw, but most needed the finer work of a dremel. The regular cut-off wheels would ware down after only about 2 inches of cutting. I finally found the fiberglass reinforced cut off wheel worked best. I was able to cut 5 openings (near the center) before it wore down. Overall, I went through a bunch of these wheels to cut the whole design. I smoothed the edges using a dremel stone tip for the rough parts, then a file and fine sand paper for the finishing. Time to do this was 20-25 hours.
I knew that I was going to do the side with the foam texture. Previously, I had made some 6 inch tentacles to put on the outside. But these seemed out of scale, and I abandoned the idea. However, it occurred to me that I could have tentacles coming out of the side to "hold" the window. I spent some time deciding on a design, then created them using "super sculpy" clay. This is a polymer clay that you bake in the oven. I sculpted them right on the panel, and put the whole thing in the oven. After they were hard and cool, I glued them to the panel. Next, I covered the surface with foam in the same manner I mentioned above.
When I had that the way I wanted it, I gave the whole thing a coat of black primer, then gloss black paint. Next, I used the green and drybrushed the color over the black. Coatings of clear, gloss overcoating give it that "always slimy" look that makes taking pictures of the texture difficult. For the window, I purchased some 1/4 inch plastic from the scrap bin of a local plastic supply company (about $2). Since I wasn't mounting it in each section, I simply glued it to the inside of the panel using Liquid Nails construction adhesive. I used the "clear" kind in case some bled over the edges. I also included some glue on the lines to help hold it in place. Liquid Nails is slightly flexible, so it won't pop off as the case is moved around.
hmmm, more pictures than text in this section.


