
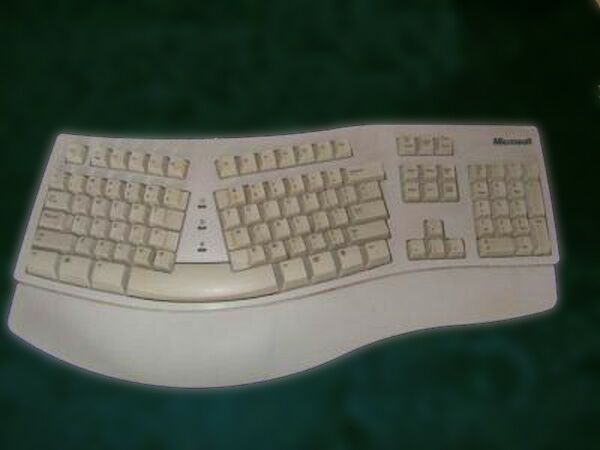
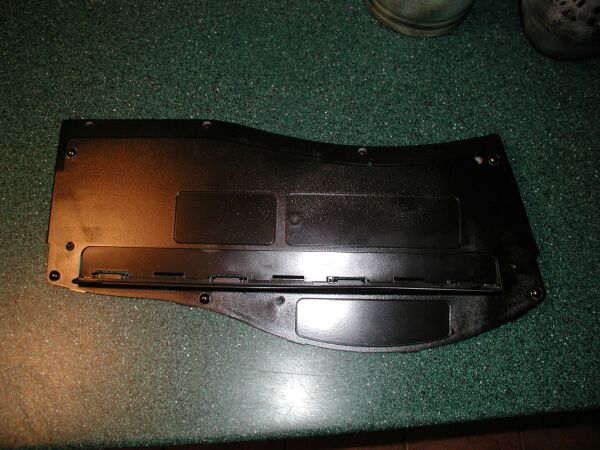
Pic#1 The basic MS Natural Keyboard
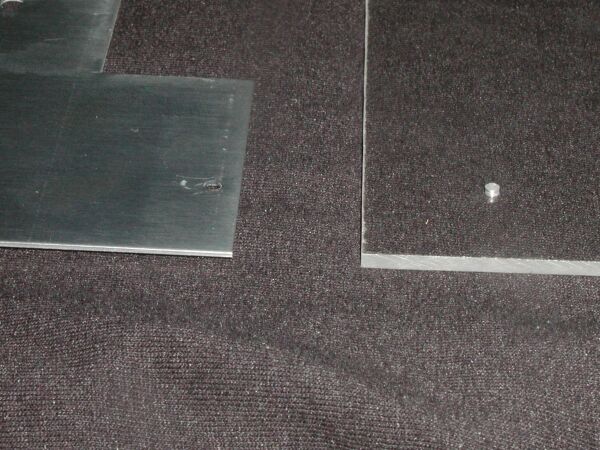
Pic#2 Orignal aluminum vs. clear plastic.
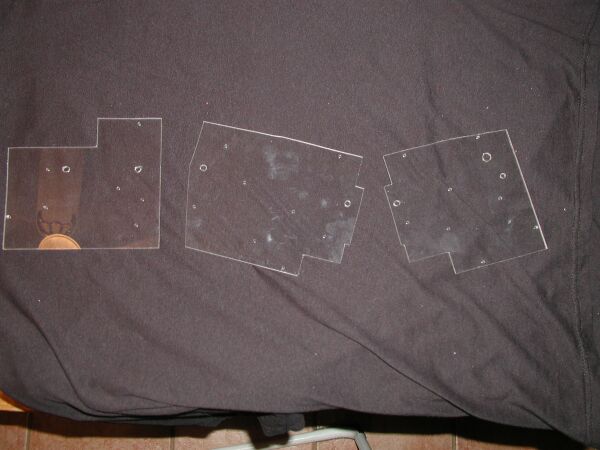
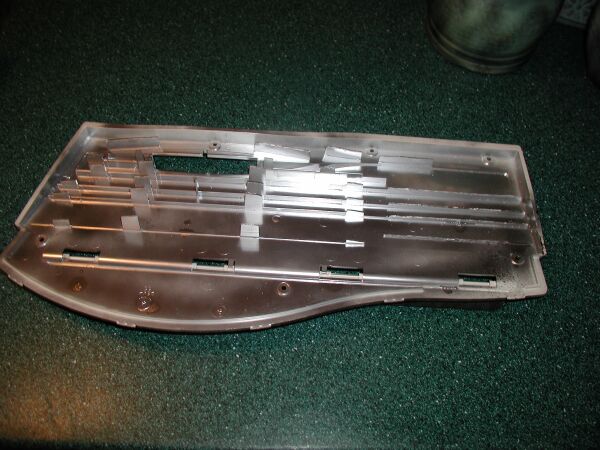
Pic#3 support plates to let light pass.
Pic#4 click for animated gif of before & after
Pic#5 paint the bottom black
Pic#6 Paint the top black
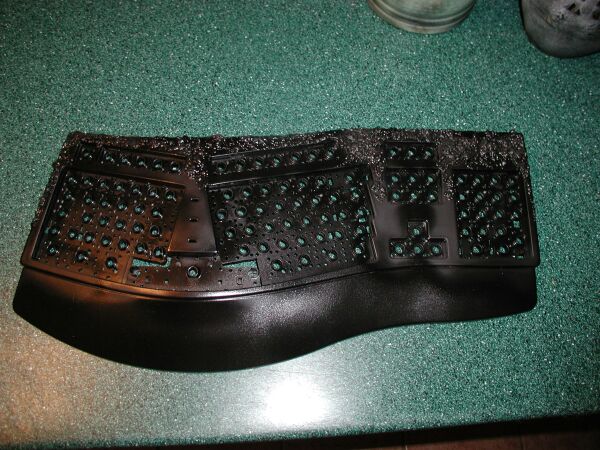
Pic#7 texture added before painting.
Pic#8 Silver paint to add reflection.

Pic#9 Keys identified
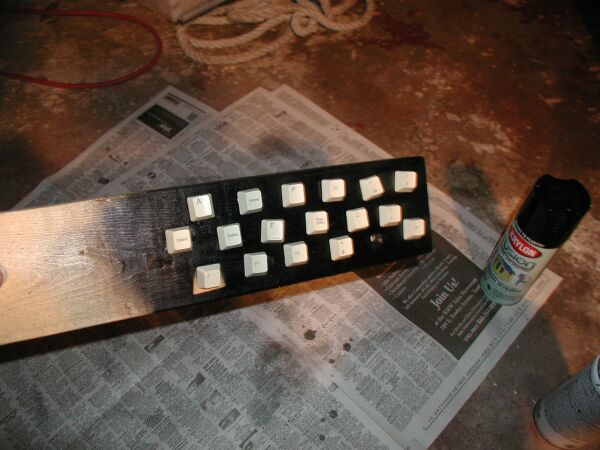
Pic#10. Soon to be black keys.
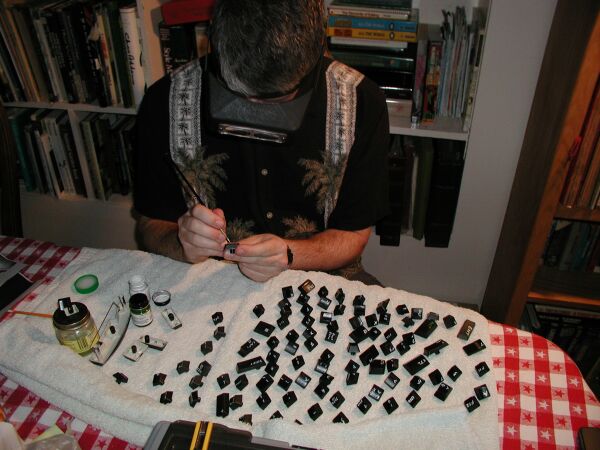
Pic#11. Fun with a magnifyer.
Pic#12. and a small paintbrush.
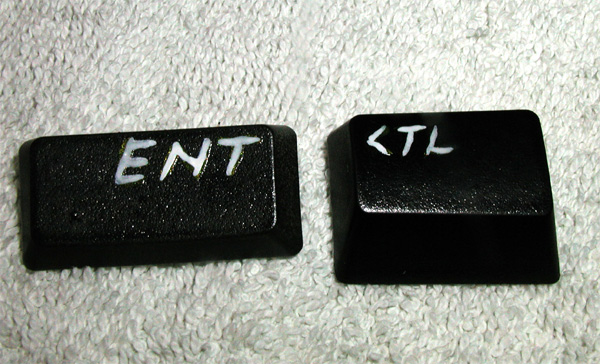
Pic#13. Finished keys. U I O P

Pic#14. fun with a soldering iron
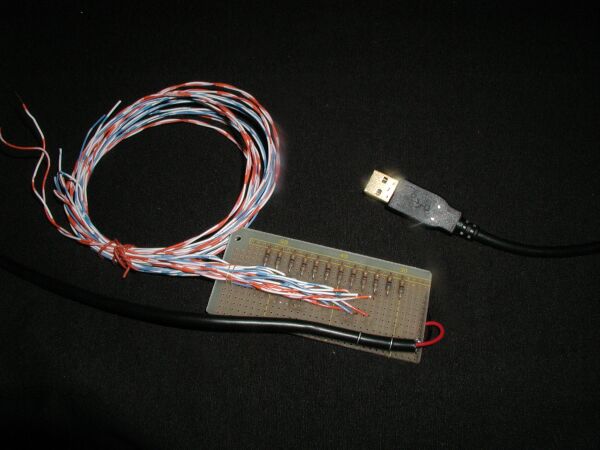
Pic#15. The working guts.
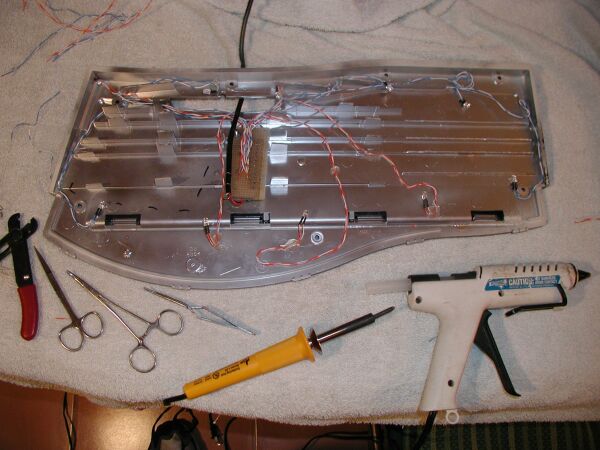
Pic#16. Putting in the LEDs.
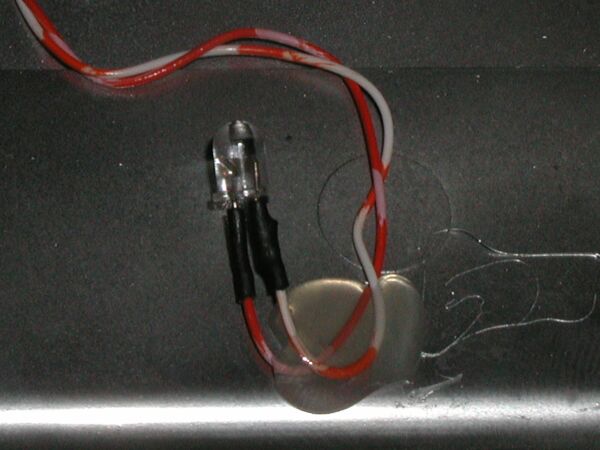
Pic#17. Closeup of the LED.
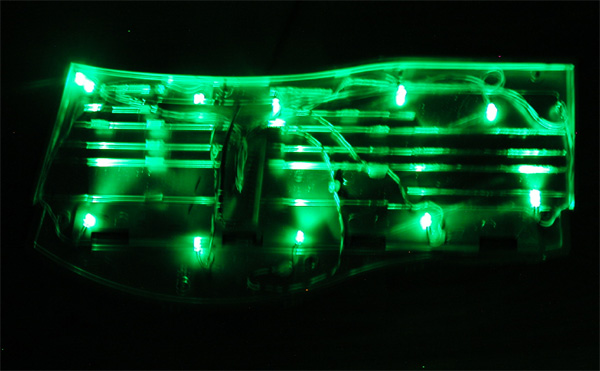
Pic#18. Testing the LEDs.
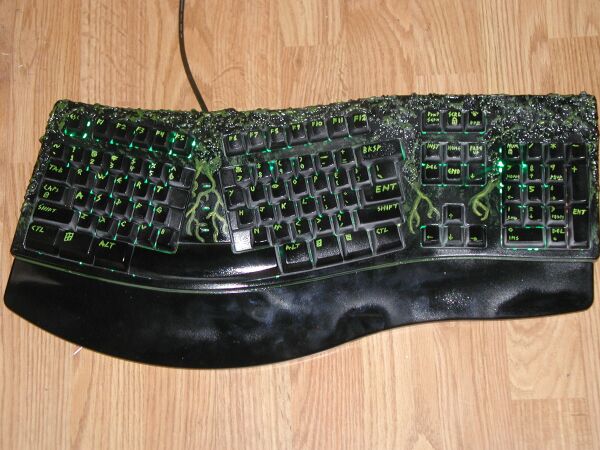
Pic#19 The final Keyboard mod
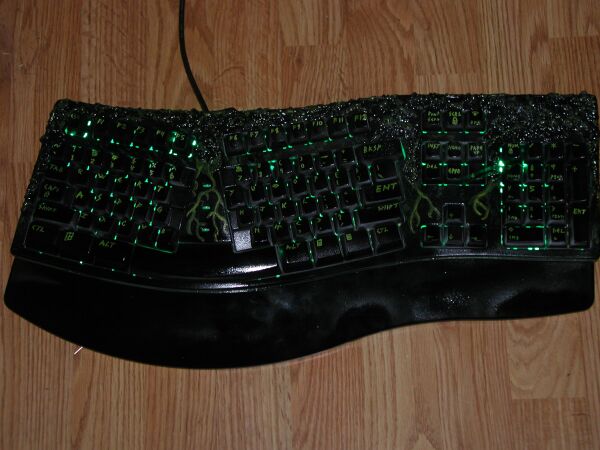
Pic#20 In low light

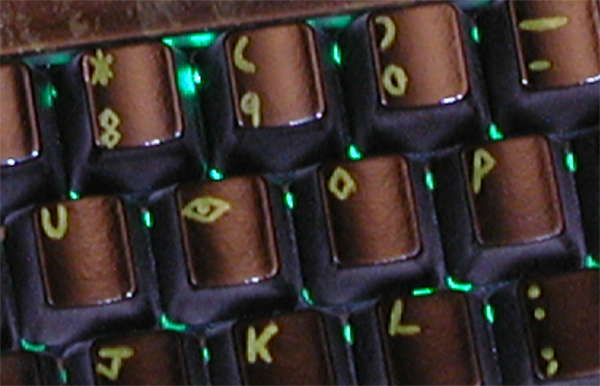
Pic#21 In for a close look.
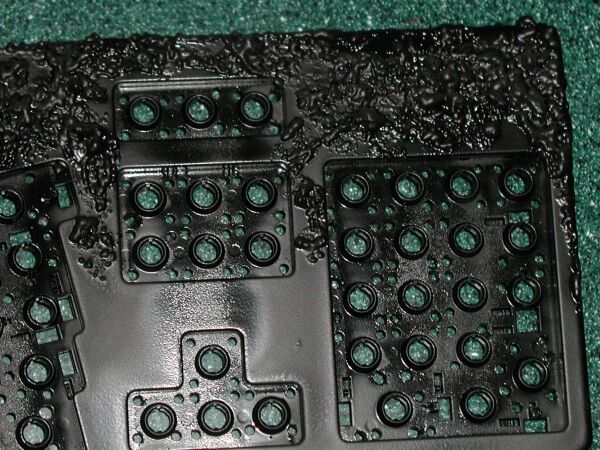
Next came the fun part. Since the upper shell of the keyboard was not transparent, I had to have a way to let light to come out between the keys. The only solution was to drill holes through the keyboard at each key position. Several. Per key. All in all, I counted 456 holes drilled where light could come out without effecting the structure of the keyboard. Click on Pic#4 for an animated gif of the shell before and after the holes were drilled.
Next, I used the expanding foam to add lumpy texture around the top of the keyboard. I did not want too much as it would get worn by use. Pic# 7. Then I painted both top and bottom with gloss black paint. The inside bottom was painted silver to help reflect light back up to the top. Pic#8
Next came the keys. First I took all the keys and marked the back of them so that I could identify them after being painted black. See Pic#9. Next, was spraying them gloss black. ( mounted them on a board for easy access and to make them hold still. Pic#10)
Pic#11 shows me hand painting the letters on the black keys. Twice. First, with an opaque white paint (Pic#12), then with a metallic green to make them stand out. Some were done creatively, as you can see in Pic#13.
After the painting was done, I worked on the lighting. My work on the main Case Mod made this easy. I used 12 superbright, green LEDS, some salvaged ethernet wire, a blank circuit board and 12 resistors. For power, I salvaged a USB cable and used a meter to determine where the power leads were. This was soldered to the board, linked to the resistors then over to the wires leading off of it. Pic#14 & Pic#15 show the circuit and the whole wiring setup.
With the LEDs and wire all set, I next used a hot glue gun to secure it to the bottom shell. I also glued the wires down and had to do test-fits of the keyboard circuits. Pic#16 shows the work that was being done and Pic#17 shows a closeup of one of the LEDs. In Pic #18 you can see a (blurry) test of the lights.
With all this finished, I reassembled everything. The final work was to use the same green paint from the case mod and do highlighting over the textures. A final spray coat of a high gloss clear helps to protect the paint and give the keyboard a "wet" look. The final pictures below show several of the final mod. Overall, I'm please with how this came out as far as the outside. The lighting is not as bright as I would like, mostly due to the fact that the upper shell of the keyboard blocks too much. I may revisit this later.


